 Reemap
Setting Layer Remaps
When you click on a layer in the profile menu, you will see the layer screen:
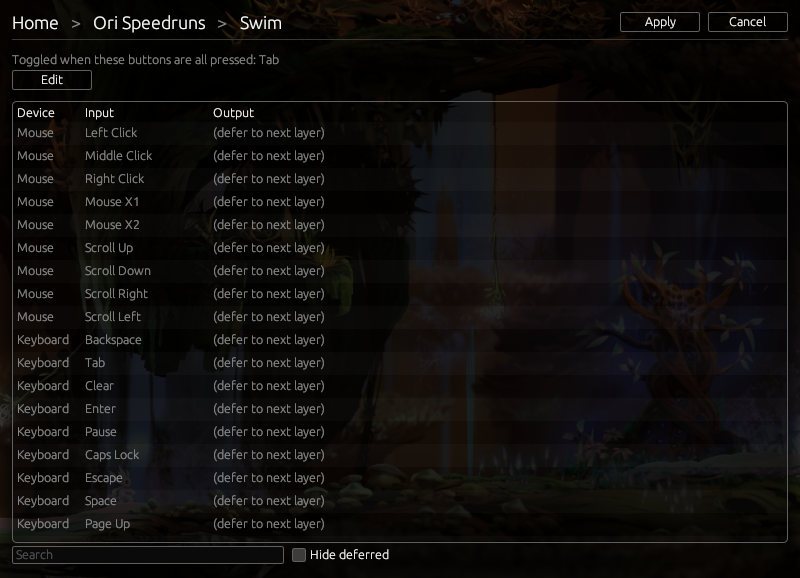
The large table in the center of the screen is the layer remaps table. Click on any item in the table, and this window will appear:
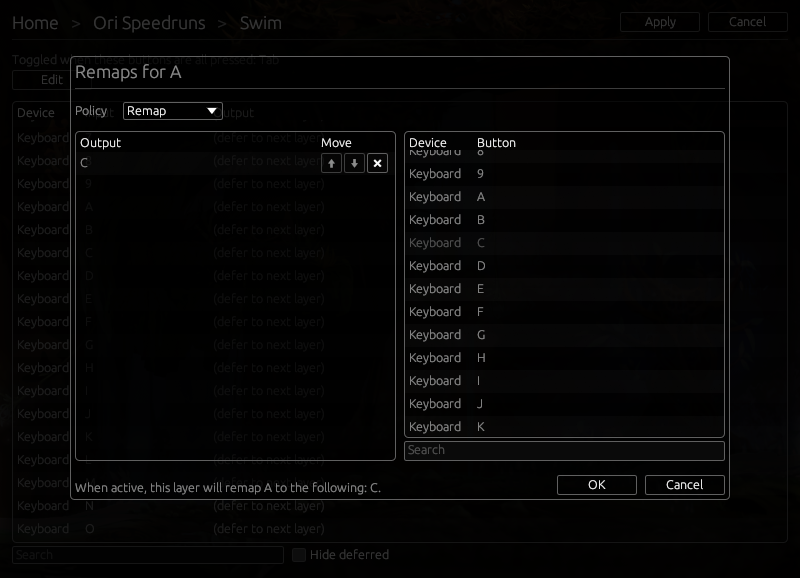
In this menu, you can choose whether this layer should override the profile's setting for this button, and if so, what this button should remap to.
Policy
| Policy | Explanation |
|---|---|
| Defer | This layer will not affect this button. The decision on whether to remap this button is first deferred to other layers. If no layers override this button, the decision is finally deferred to the profile. |
| No Remap | This layer overrides the profile's setting. This button will not be remapped, even if the profile has a remap for this button. |
| Remap | This layer overrides the profile's setting. When this button is pressed, the buttons in the output list will be sent. |
| Suppress | This layer overrides the profile's setting. This button will be suppressed. |
Output List
A table of available outputs is shown on the right. If you click on an item, it will add an entry to the output list shown on the left. You may add any number of outputs.
Order of outputs
Reemap sends all the outputs as a batch, but the order of outputs might matter if one key acts as a modifier for another.
For example, remapping to Left Shift and B results in a capital "B" being typed into programs like Notepad. Remapping to B and Left Shift, however, results in a lowercase "b" instead.
You can click on the arrow buttons to rearrange the outputs.